Yesterday we talked about coordination and how back pain sufferers tend to spend way too much time focusing on strength. They think simply a STRONGER core will bring relief to their lower back. That’s wrong thinking that unfortunately a lot of sufferers pick up from their trusted medical professionals. I want to dive even deeper into this “coordination” idea and break down what exactly you’re looking to coordinate.
Let’s go!
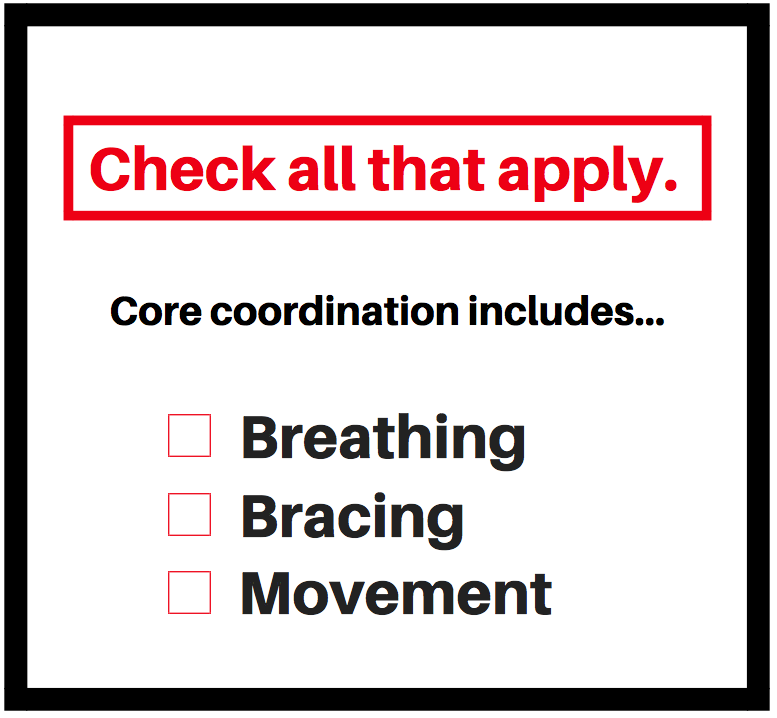
So what exactly makes up Core Coordination?

The best practice for anyone with lower back pain is to check in with their breathing and practice the right way often.
Try this: Breathing Crash Course.
-Place one hand on your chest and one hand on your stomach and take deep breaths into your belly with the goal of making ONLY that hand rise with every inhale. Do this with 5 breath cycles.
– After the belly breaths, breathe only into your chest and try to only make that hand rise as much as possible. Do 5 breaths of that.
– Now that you have learned to separate chest breathing from belly breathing. Place both hands back over your chest and belly and do a slight contraction of your entire core. One way I like to coach this is to have you brace your abdominals and then do a quick short breath out. That ties in the obliques and any other muscles that are not activated.
-With this contraction on, I want you to breath into the base of your ribs. Think of it as the halfway mark between your belly and chest. You want to go through a few cycles of breaths focusing on the brace being on and your breath filling that area between both hands.
How was that? Hard? Easy?
Learning how to separate the chest and belly compartments through breathing teaches you control. Control, allows you breathe properly whether you are at the gym exercising or working around your house. This is key. Shutting your breathing down or only limiting it to your chest is a recipe for disaster and the body to not operate seamlessly.


Bracing is not just preparing for a punch to the stomach.
The key to a good brace is the organization you create around your spine first.
You can “brace” your stomach but if your pelvis and spine are not aligned you are bracing a lumbo-pelvic position that isn’t ideal which could cause more pain and more poor habits when it comes to movement mechanics. You ALWAYS want to organize yourself first then brace.
Let’s walk through how to do that.
This is a quick organization sequence that I use when getting ready to brace myself for a movement.
1 – Rock the pelvis forward and back and stop in the middle, between both end ranges. This is typically neutral. Hold that there.
2 – Draw your ribs down by slightly engaging your abdomen, pelvic floor (these are your “pee” muscles you would use to start and stop your stream. I know, I know I somehow am able to talk about peeing and core strength in the same article.) and bringing the base of your ribs into your stomach. Keep in mind, you are NOT flexing the lumbar spine to accomplish this.
3 – Stabilize your shoulders by bringing them back and down along with your chin back.
4- Once you’re organized, do a quick short breath out with pierced lips and hold the contraction this creates. That is how you quickly brace your core.
I know that sounds like a lot to do before grabbing a load of laundry, starting your lawn mower or taking the weights off the bar at the gym but what you’re doing at first is creating a new movement and bracing pattern. This is key. To break a bad habit you have to constantly reinforce what you want. At first, this is a slow and grueling process but as you go on you won’t have to keep rocking your pelvis back and forth to find neutral. You will just know.

Movement is the next most important thing you need to focus on BEFORE you start thinking about strength and endurance.
No, I’m not talking about Tai Chi or some weird yoga moves.
When it comes to building a stable and resilient core you have to think developmental before you think strong. Your medical professionals will use the term “weak core” as a blanket statement to cover a lack of knowledge or understanding of how core coordination and stability actually affects lower back pain. As a lower back pain student, you have to dig a little deeper to see if its strength you need or if it’s something more.
When it comes to introducing movement into your breathing and bracing you have to start slow. If you are anything like the majority of back pain sufferers, as soon as you start doing “core” exercises your stability muscles start turning off and other muscles start to compensate.
An example of this would be the lack of glute activation when squatting. If you sit a lot or have poor coordination in the chains that make up your core muscles, there will be other muscles such as your erector muscles that kick in and take over. They will practically bypass the glute completely and start taking the load. This is where the importance of coordination comes in. You have to retrain the body to use the necessary core muscles to activate and fire when they are supposed to.
Without this ability, exercises like the Plank, Bird Dog and Stir the Pot are worthless.
I want to teach you the most developmental way of organizing your spine, breathing and bracing at the same time. After watching this video I want you to pick up where it leaves off and do what I instruct below!
To see the very early stages of learning what proper COORDINATION looks like pickup where the video leaves off with whats below.
After watching the video all the way through I want to add this movement once you have the core locking down.
1 – With the deep core on and pelvic floor engaged, I want you to slowly drop the right knee to the side towards the ground. Slow and steady and maintain a normal breathing cycle and contraction.
2 – Before dropping the leg I want you to begin to exhale and continue the exhale as the leg drops. As you exhale the engagement of your deep core and pelvic floor should get stronger. At the base of the knee drop take a full breath in and breath out.
3- Return the knee to the starting position.
4- Repeat this 3 sets of 12 reps (each leg)
This is step one of the entire system I put my personal one-on-one clients through. They don’t move on or progress until they have mastered this (at least a week) and can do it with complete control over their pain and able to do it without losing control of any muscle activation.
How did you do?
How did it feel?
Simple?
Hard?
Were you able to keep your pelvic floor on while going through the movements?
A lot of people struggle with this first step and if you don’t that’s great but you might struggle at the next step. That’s the goal of following a well-designed system for rebuilding the core. You go through the process step by step from beginning to end to find where you are weak and to fix these specific areas. No MRI’s, No doctor visits, just trial and error until your weakest points are staring you right in the face and all you have left to do is fix them.
One thing that a lot of people are right about is the power of a well-trained core on correcting a lot of the issues that cause back pain. The disconnect is that you can’t just throw yourself into any old exercise and say you’ree doing good. 10 times out of 10 I will have a student go through an entire rebuilding process which will give you without a shadow of a doubt a fully capable core system and more control over your lower back pain.
Friday I am going to talk about the disconnect that the mainstream fitness and medical industry is causing for lower back pain suffers and why some of the best core exercises in the industry can be the worst for you.
Stay tuned
William
ps. Next week I will be diving into something awesome with my students in my newsletter. If you are not apart of that group you can jump on below!